



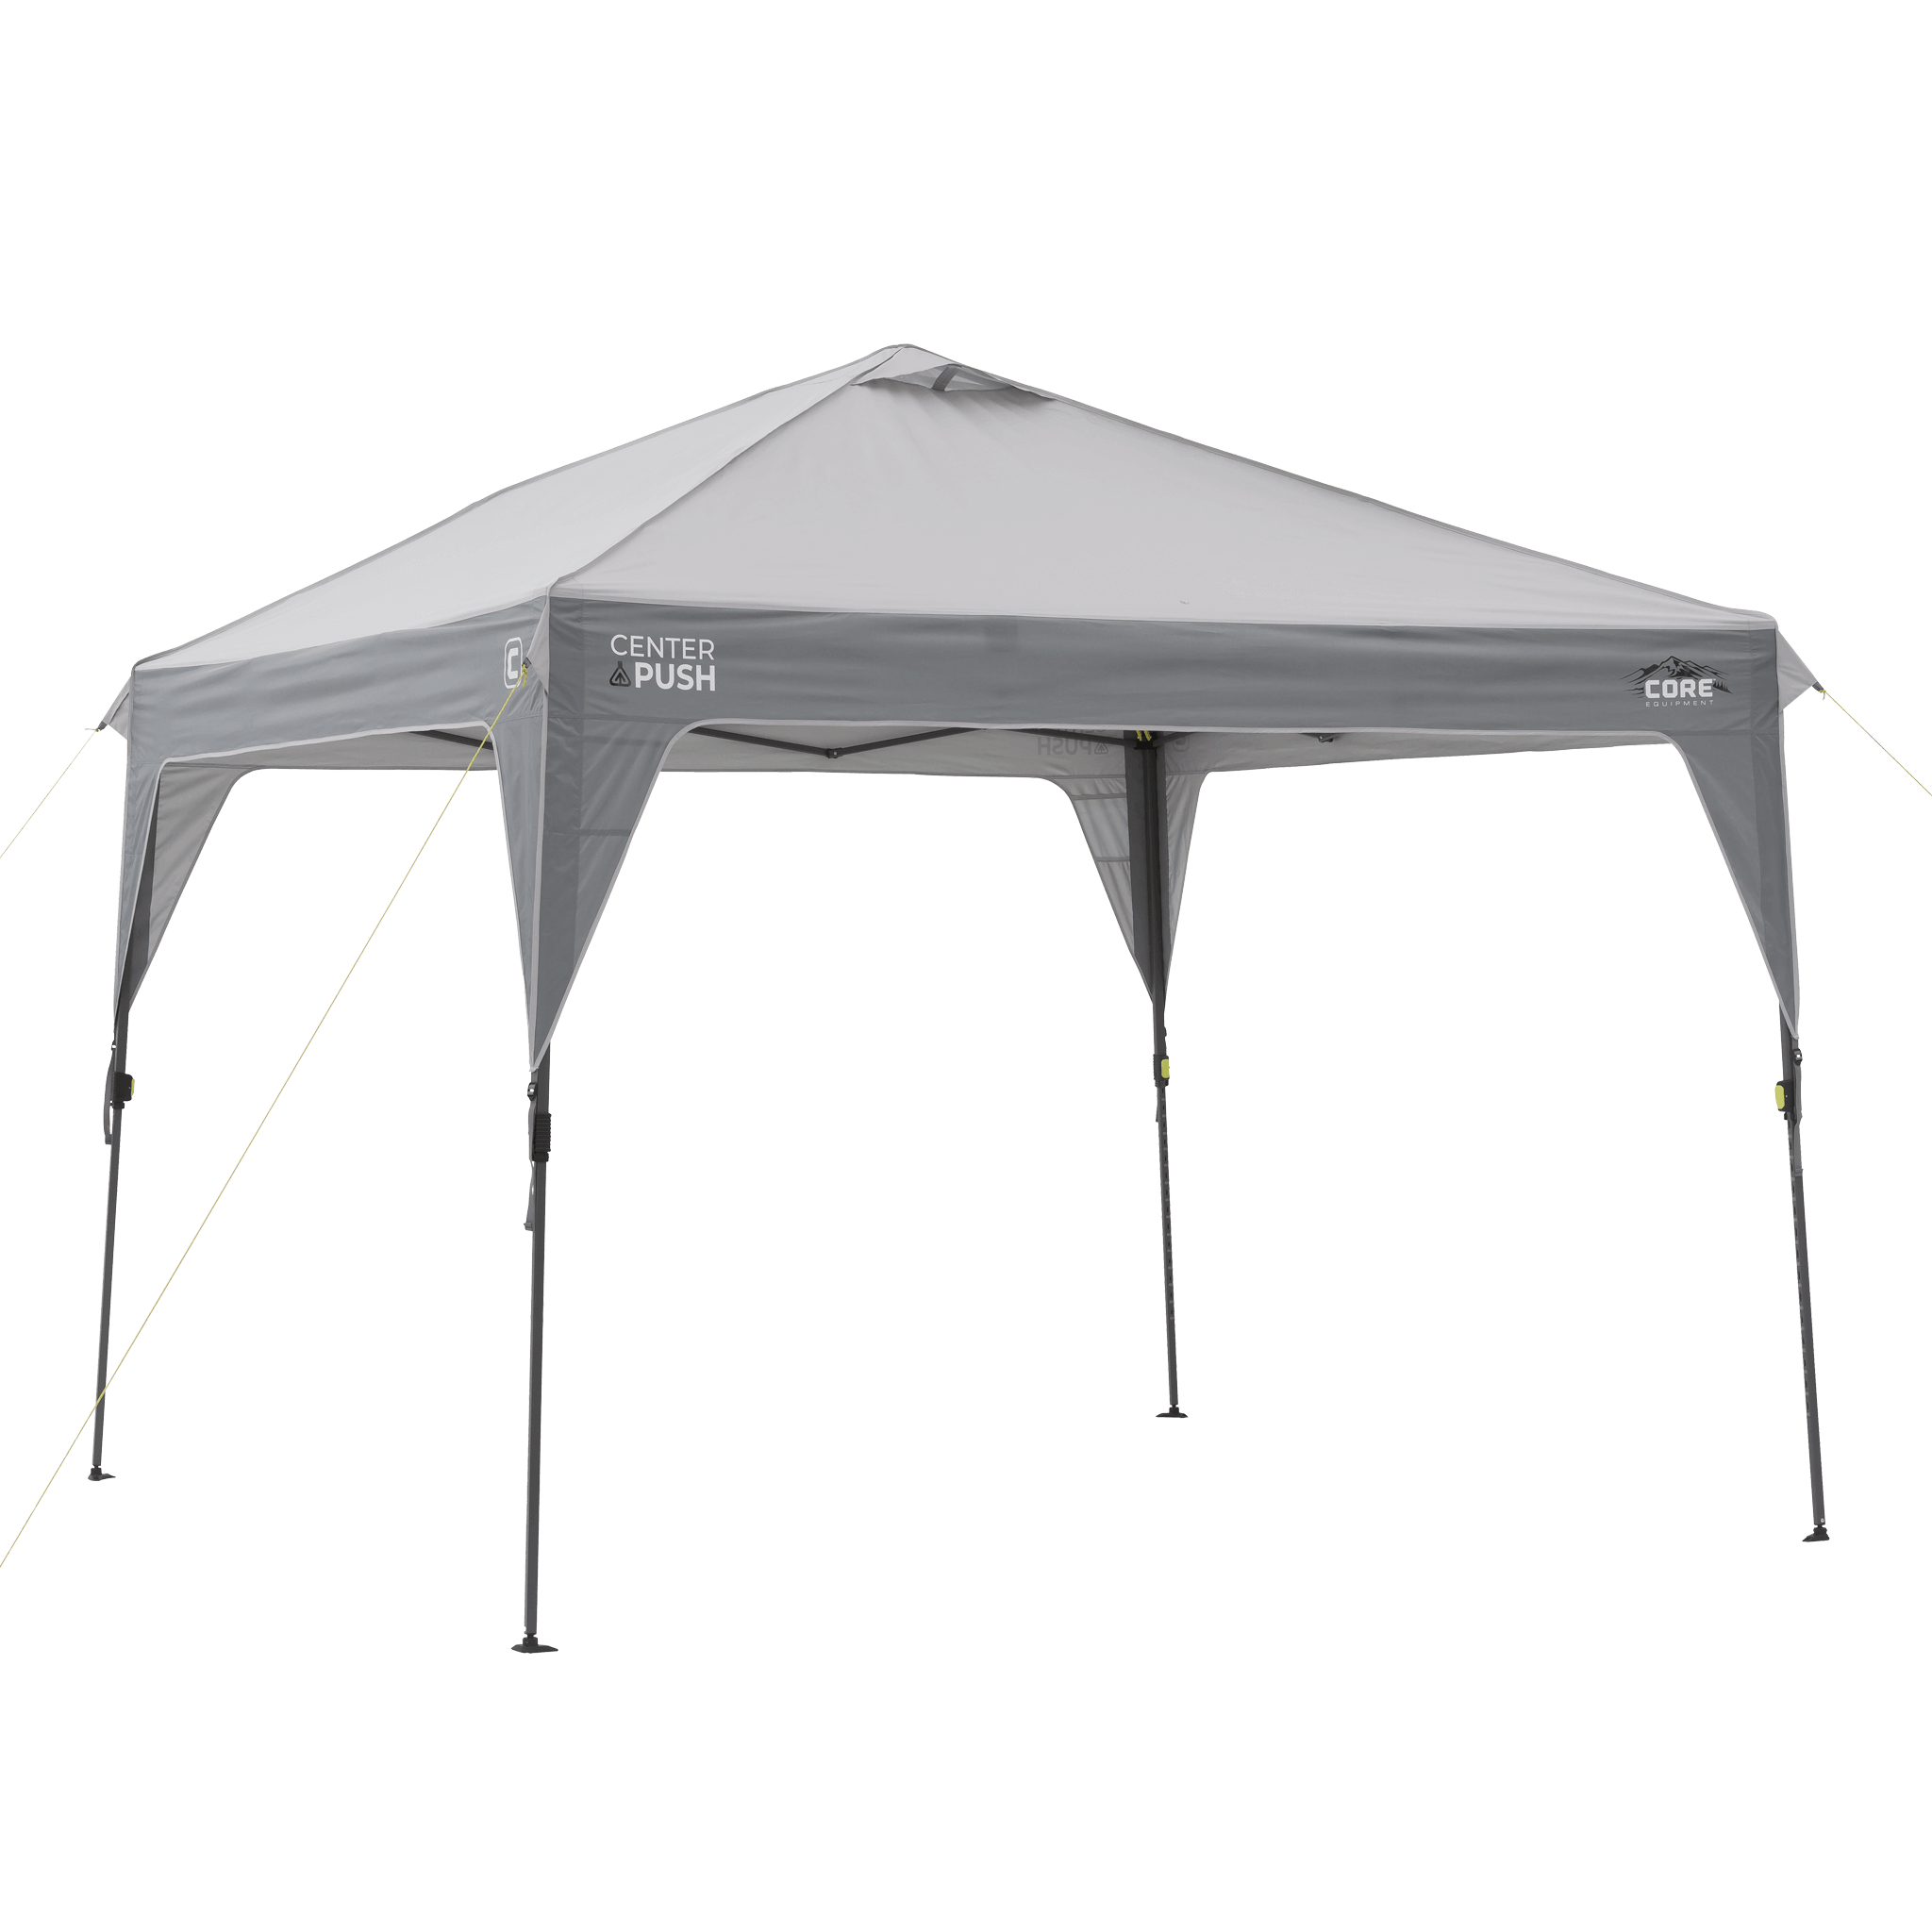

A 10x10 canopy is great until you show up with eight chairs, a full cooler, and a table that barely fits underneath. For tailgates, group campsites, and backyard parties, the jump to a 13x13 makes a noticeable difference: 169 square feet of shade instead of 100.
Setting up a larger pop-up canopy solo can feel intimidating, but a few minutes of practice make one-person setup entirely doable. Here's how to get CORE's 13x13 instant canopy up on your own.
What Makes the 13x13 Different from a 10x10 Canopy
Before jumping into setup, it helps to understand what you're working with and why the 13x13 is built the way it is.
CORE's 10' x 10' Center ush Instant Canopy uses Center-Push technology, where a single center handle raises and locks the roof from underneath. One person can handle the entire process in about two minutes.
The 13' x 13' Center Push Instant Canopy gives you 169 square feet of UPF 50+ shade with the same Center-Push™ Technology as the 10x10. An extended center handle raises the roof and locks it into place, with 15 height settings adjusted by pinch-free auto-locking buttons. Two roof vents keep air moving, and integrated guylines plus self-adjusting all-terrain feet help hold things steady once you’re set up.
| Spec | 10' x 10' Center Push | 13' x 13' Center Push |
|---|---|---|
| Shade Coverage | 100 sq ft | 169 sq ft |
| Peak Height | 9 ft 4 in | 9 ft 6 in |
| Weight | 41 lbs | 47 lbs |
| Fabric | 150D polyester, UPF 50+ | 150D polyester, UPF 50+ |
| Frame | Steel | Steel |
| Roof Vents | Two | Two |
| Height Settings | 15 | 15 |
| Setup Time | 2 minutes | 2 minutes |
How to Set Up the 13x13 Canopy Solo
One person can absolutely set up the 13x13 alone. The process takes about three minutes once you've done it a couple of times. Here's the walkthrough:
Step One: Position and Partially Expand the Frame
- Remove the frame from the wheeled carry bag and place it in your desired location.
- With the frame still folded, unlock the sliders and expand the base outward to about waist height. Do not fully extend the frame yet, because reaching the center hub becomes difficult once the canopy is at full width.
Step Two: Attach and Position the Canopy Top
- Drape the canopy fabric over the partially expanded frame.
- Secure the fabric at all four corners using the Velcro straps. Make sure the material sits evenly across the frame so it doesn't bunch when you raise the center.
Step Three: Raise the Center Hub
- Standing under the canopy, push the center hub upward until you hear and feel it lock into place. The oversized, pinch-free buttons on the frame make locking the joints straightforward and safe for your fingers.
Step Four: Extend and Lock the Legs
- Raise each leg to your desired height using the three adjustable height settings. Work in a cross pattern (front-left, then back-right) to keep the frame balanced.
- Lock each leg with the pinch-free buttons before moving to the next.
Step Five: Anchor the Canopy
- On grass or dirt, drive the included stakes through the anchor holes at the base of each leg. Each leg has two anchor points.
- On pavement or concrete, use weight bags (sold separately) on each leg instead.
- Attach the integrated guylines at roughly a 45-degree angle for added stability, especially if there's any breeze.
Tips for a Smooth Solo Setup
A few small adjustments make one-person setup faster and more reliable.
- Practice in your yard first. A dry run at home cuts your setup time significantly. Most people nail the process after two practice rounds.
- Keep leg heights even. Uneven legs create a lopsided canopy that catches wind unevenly and puts stress on the frame.
- Always anchor, even on calm days. Wind can pick up without warning, and an unanchored canopy becomes a hazard.
- Add a Sun Wall Accessory after setup for directional shade as the sun shifts, or for some wind protection on breezy days.
Best Uses for the 13x13 Canopy
The extra coverage opens up options that a standard pop-up canopy can't match.
- Tailgating: A full table, grill, cooler, and seating for the crew. The best 13x13 canopy for tailgating covers enough ground for the whole spread without crowding.
- Group campsites: A shared common area for cooking, eating, and hanging out.
- Backyard parties: Shade for a buffet table, a drink station, or a kids' play area.
- Sporting events and festivals: Room for your group's chairs, bags, and gear.
All CORE canopies feature UPF 50+ coated fabric for sun protection, steel frames, and roof vents for airflow underneath.
Set Up Once, Enjoy All Day
A larger instant canopy doesn't have to mean a complicated setup. With the right technique, one person can get the 13x13 up in minutes and have enough shade for the entire group. Whether the occasion is a game day parking lot or a weekend campsite, the extra coverage pays for itself every time you use it. Browse the full lineup of canopies from CORE and pick the size that fits your crew.
Frequently Asked Questions
How Does a Center-Push Canopy Work?
Center-Push technology uses a single handle underneath the canopy roof. Pushing the handle upward raises and locks the entire frame from one central point, allowing solo setup.
Is a Center-Push Canopy Easier to Set Up Alone?
Yes. A Center-Push instant canopy like CORE's 10x10 model eliminates the need to lock individual joints at the roofline, cutting solo setup time to about two minutes.
Can One Person Set Up a 13x13 Canopy?
Yes. Partially expand the frame first, attach the canopy top, then push up the center hub and extend the legs. The process takes about three minutes solo.
Do I Need Stakes for a Canopy on Pavement?
No. Use weight bags on each leg instead of stakes. Anchoring is still important for stability, even on calm days.
What Is the Weight Limit for Wind with a Canopy?
Most instant canopies perform best in winds under 20 to 25 mph. Always stake or weight the frame and attach guylines when wind is a factor.
Can I Add Walls to a 13x13 Canopy?
Yes. CORE's Sun Wall Accessory is compatible with both the 10x10 and 13x13 models. Attach it after the canopy is fully set up and anchored.
What Is the Best 13x13 Canopy for Tailgating?
A 13x13 with a steel frame, UPF 50+ fabric, and a wheeled carry bag covers a full tailgate setup and is easy to transport across a crowded parking lot.


