


![CORE Climakeep 24 can cooler angled view in charcoal with a waterproof design and a shoulder strap. [color:charcoal]](http://www.coreequipment.com/cdn/shop/files/core-24-can-climakeep-backpack-cooler-charcoal-main.png?v=1772230144&width=2048)
![CORE Climakeep 24 can cooler angled view in mulberry with a waterproof design and a shoulder strap. [color:mulberry]](http://www.coreequipment.com/cdn/shop/files/core-24-can-climakeep-bac_ack-cooler-mulberry-main.png?v=1772230034&width=2048)
![CORE Climakeep 24 can cooler angled view in sage with a waterproof design and a shoulder strap. [color:sage]](http://www.coreequipment.com/cdn/shop/files/core-24-can-climakeep-backpack-cooler-sage-main.png?v=1772554650&width=2048)
![CORE Climakeep 24 can cooler angled view in shadow gray with a waterproof design and a shoulder strap. [color:shadow gray]](http://www.coreequipment.com/cdn/shop/files/core-24-can-climakeep-backpack-cooler-shadow-gray-main.png?v=1772657584&width=2048)
![CORE Climakeep 24 can cooler angled view in steel blue with a waterproof design and a shoulder strap. [color:steel blue]](http://www.coreequipment.com/cdn/shop/files/core-24-can-climakeep-backpack-cooler-steel-blue-main.png?v=1772657357&width=2048)


You bought the gear, you made the checklist, and now you're standing in the driveway staring at a trunk that looks way too small for everything you're trying to bring. Sound familiar? The difference between a smooth car camping trip and a frustrating one usually comes down to how you pack, not how much you pack.
A well-loaded vehicle means less digging, fewer trips back to the car, and a campsite that comes together faster. Here's how to do it right.

Pack in Reverse Order
The most important packing principle is simple: load your car in the opposite order you'll need things at camp. Whatever you unpack first should be the last thing you load.
Your tent, stakes, and a ground tarp go in last because they're the first things you'll set up. Sleeping gear goes in the middle layer. Items you won't need until later, like extra clothes and backup supplies, go in first, right against the back seat.
A basic reverse-order loading sequence looks like this:
- Bottom layer (back of trunk): Clothes bags, extra blankets, backup supplies
- Middle layer: Sleep gear, pillows, sleeping bags
- Top layer (closest to tailgate): Tent, camping chairs, camping table, and anything you need on arrival
Heavy and Flat on the Bottom
Weight distribution matters for both safety and space.
- Heavy items like coolers, bins, and a folding camp table should sit flat on the trunk floor.
- Stacking lighter, soft items like sleeping bags and pillows on top prevents shifting during the drive.
If you're using storage bins, choose ones that are all the same width so they tile across the trunk floor without wasted space. Soft bags and duffels can fill the gaps around rigid items.
A collapsible camping table, like the CORE 4 Foot FlexRail Outdoor Camp Table, folds flat and slides along the side wall of most trunks or SUVs. That keeps it accessible without eating up floor space.
Consider Cooler Placement
Your cooler deserves its own spot in the packing plan. It needs to be reachable during the drive (for drinks and snacks on the road) and easy to pull out first at camp.
Best practices for cooler placement:
- Place it near the tailgate or behind the back seat where you can access it at rest stops
- Keep it flat to avoid spills, even with leakproof models
- Pre-chill the cooler before packing, and add ice right before you leave
- If you're bringing two coolers, dedicate one to drinks (opens frequently) and one to food (stays sealed longer)
Organize by Zone, Not by Person
Packing by person ("this is Dad's bag, this is the kids' stuff") leads to chaos. Packing by zone, where gear is grouped by when and where you'll use it, keeps things organized from driveway to campsite.
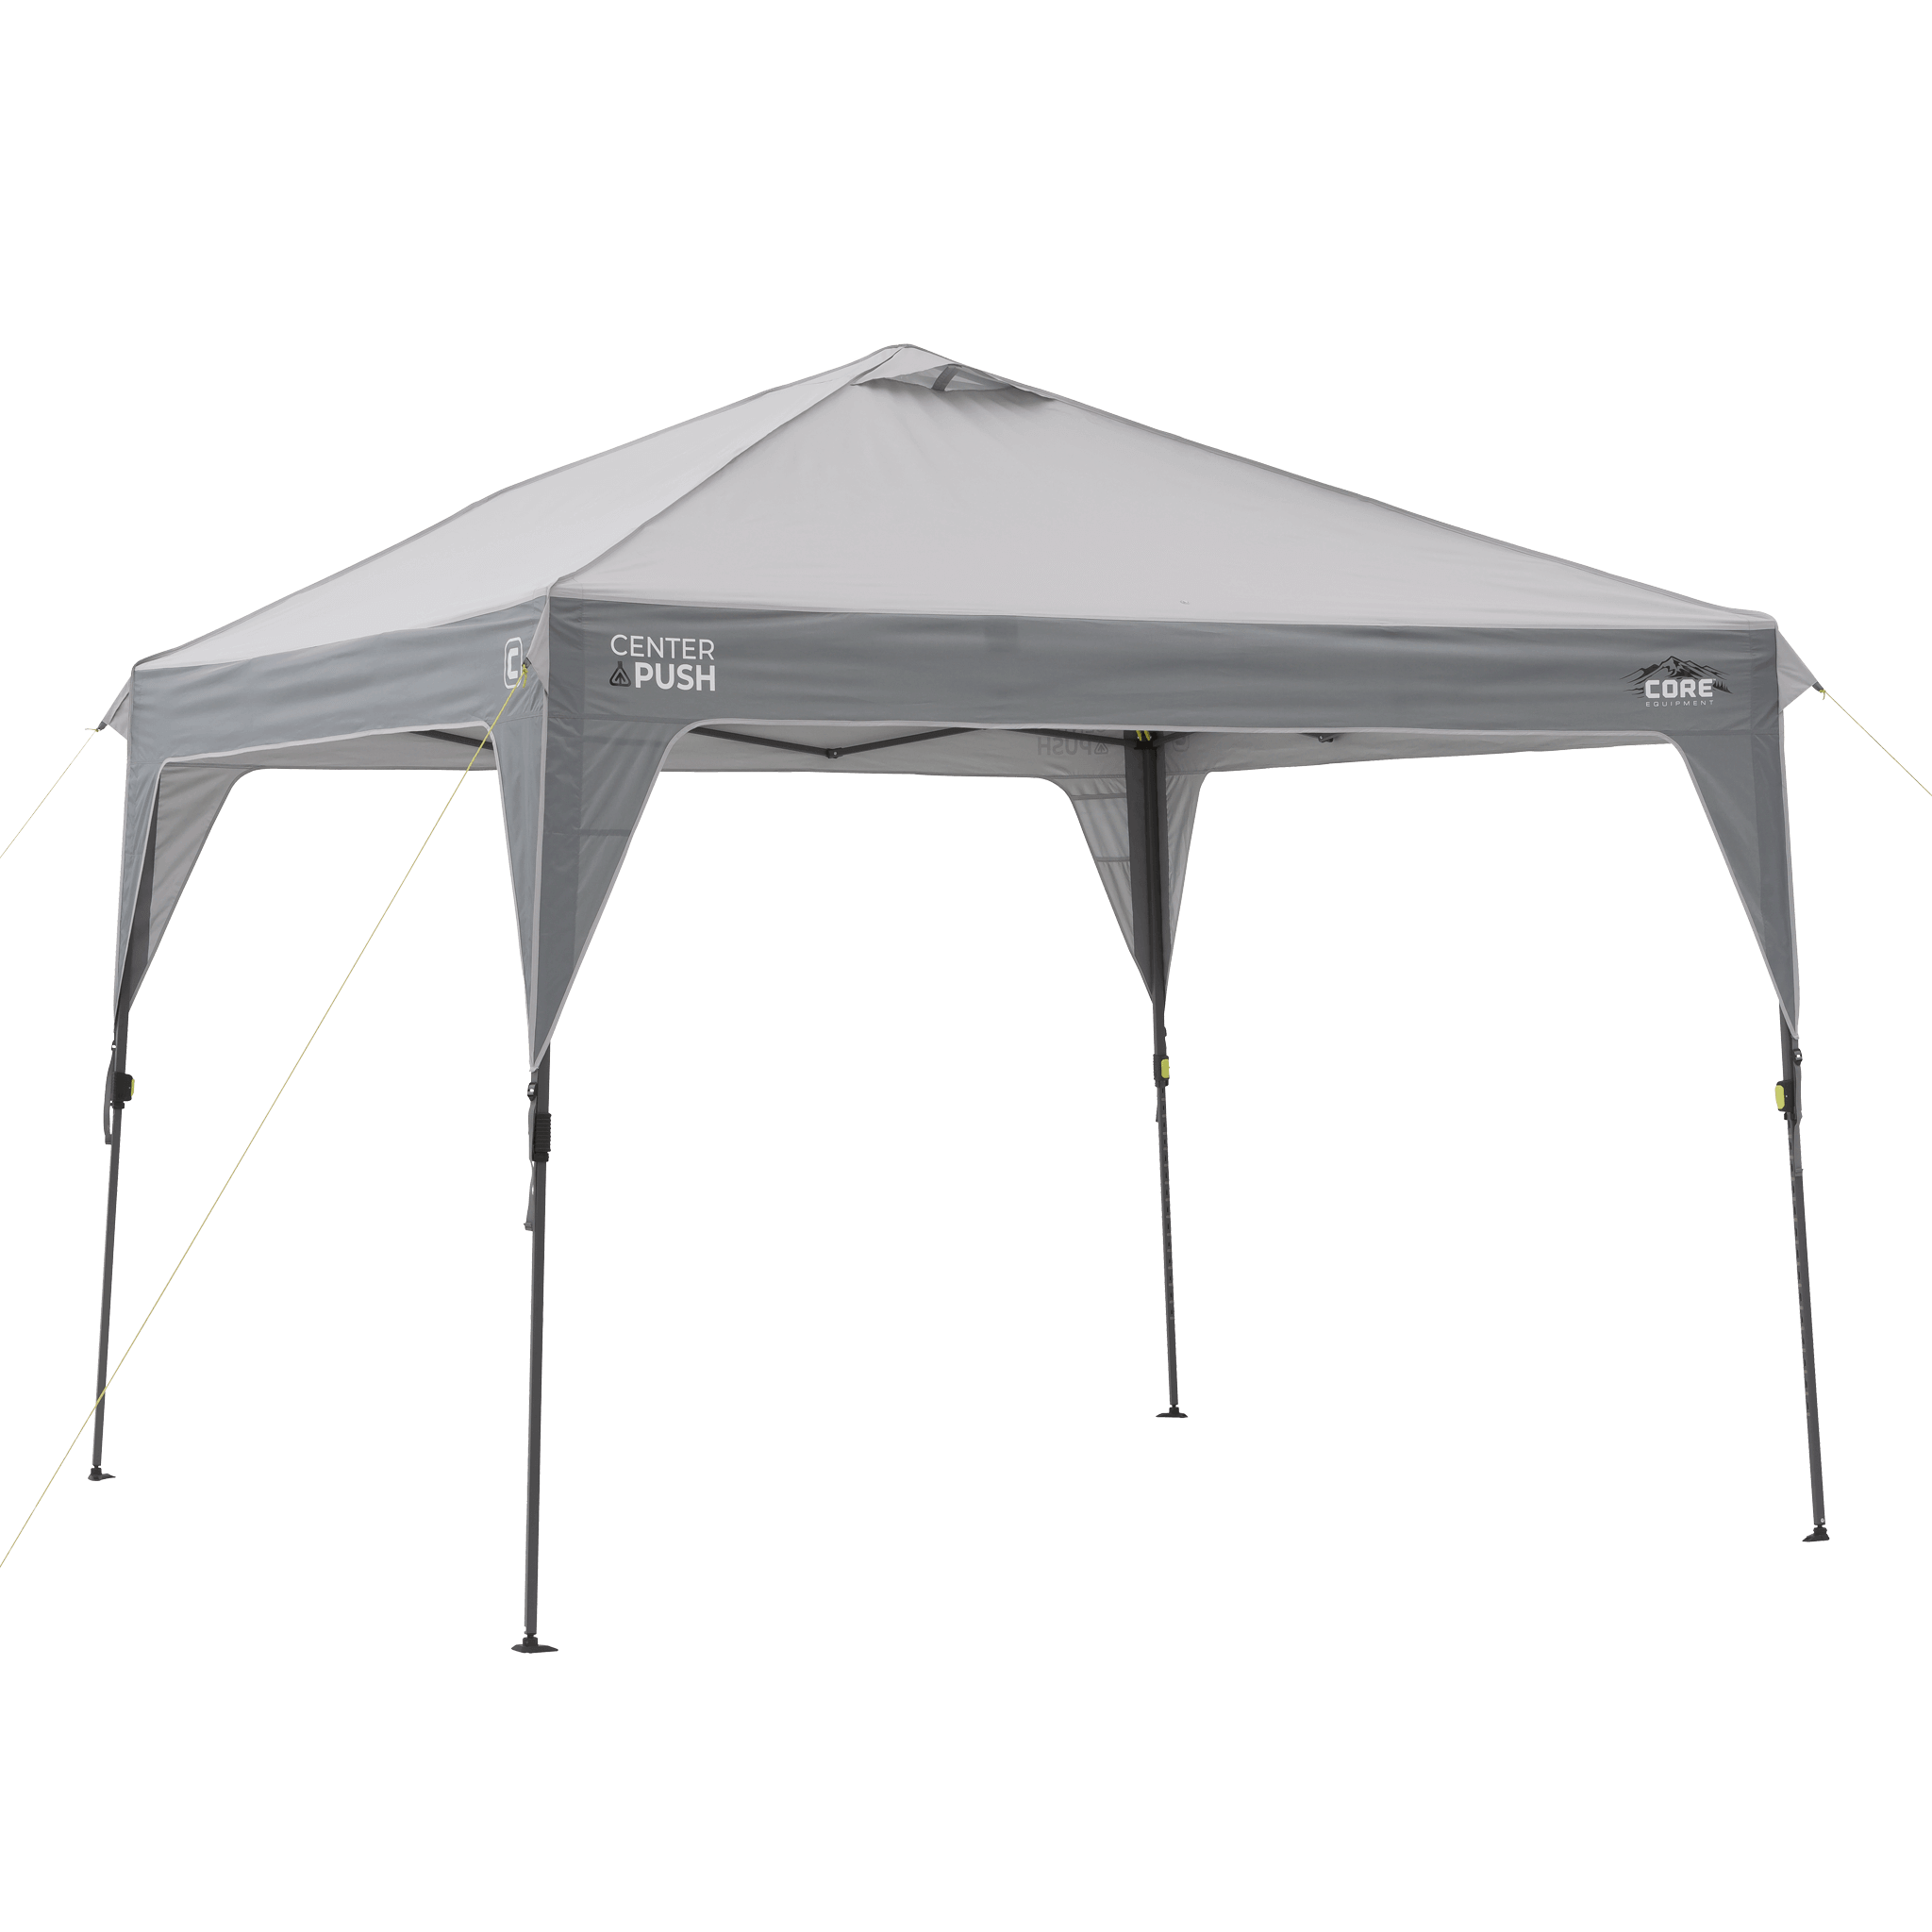
- Zone 1: Camp setup. Tent, stakes, ground tarp, camping table, camping chairs, canopy. Load last, unload first.
- Zone 2: Sleep. Sleeping bags, camping cot or sleeping pad, pillows, blankets. Goes in the middle.
- Zone 3: Kitchen. Cooler, stove or grill, cookware, utensils, plates, trash bags. Keep the cooler accessible.
- Zone 4: Personal. Clothes, toiletries, towels, first-aid kit. Load first, since you won't need these until you're settled.
- Zone 5: Extras. Games, books, firewood, camp lighting, bug spray. Fill gaps with these smaller items.
Do You Need a Roof Box?
For most car camping trips, no. A mid-size SUV or crossover can handle a family's worth of gear if you pack efficiently. Roof boxes and cargo carriers add cost, increase wind drag, and require you to load heavy items overhead.
That said, if you're packing for five or more people, bringing bulky items like a large camping cot for every sleeper, or your vehicle is on the smaller side, a roof box can free up space inside the cabin.
Before buying one, try packing once with compression bags and stacking bins. You might be surprised how much fits when you ditch the loose bags and pack with intention. Keep the heaviest items centered and low to help avoid handling issues, and check your vehicle's rated roof load before adding weight.
Quick Packing Checklist
Before you close the trunk, run through this quick mental checklist:
- Tent and stakes reachable on top
- Cooler accessible from the tailgate
- Heavy items flat on the bottom
- Nothing blocking the rearview mirror
- Sleeping gear in the middle layer
- Chairs and camping table loaded last for quick campsite setup
- Personal bags in first (deepest in the trunk)
Your Campsite Starts in the Driveway
A car camping trip that starts with a well-packed vehicle sets the tone for the whole weekend. Less time digging through a pile of gear means more time setting up camp, cracking open a cold drink, and settling into the good stuff.
Looking to upgrade your camp setup? Browse CORE furniture and camping collection for practical gear that’s easy to pack, transport, and set up.

Frequently Asked Questions
How do I pack my car for camping?
Use a reverse-order system. Load items you'll need last (clothes, extras) first. Load items you'll need first (tent, chairs, table) on top. Keep the cooler accessible near the tailgate and pack heavy items flat on the trunk floor.
What's the most efficient way to load camping gear into a trunk?
Group gear by zone: setup, sleep, kitchen, personal, and extras. Use uniform bins for rigid items and fill gaps with soft bags. Keep the heaviest items low and flat, and stack lighter gear on top.
Do I need a roof box for car camping?
Most families can fit everything they need inside a mid-size SUV with smart packing. Roof boxes help when you're packing for a larger group, or your vehicle is on the smaller side, but they're rarely necessary for a standard family camping trip.
What camping furniture packs the flattest?
Folding camp tables and collapsible chairs are designed to fold down and slide along trunk walls. A table with a slim fold profile can sit against the side without eating into your main packing space.
Should I keep the cooler inside the car or on the roof?
Always inside the car. Coolers need to stay flat, accessible, and out of direct sunlight for the best ice retention. Place yours near the tailgate so you can grab drinks at rest stops and unload it easily at camp.


